Multilingual content
Front Matter CMS supports multilingual content. This means that you can create content in multiple languages and manage them in the same workspace.
Configuration
To enable multilingual content, you need to define the default locale per content folder and define which locales which you want to support.
Define the default locale per content folder
To define the default locale per content folder, you need to use the defaultLocale
property on the frontMatter.content.pageFolders setting.
{
  "frontMatter.content.pageFolders": [
    {
      "title": "Multilingual",
      "path": "[[workspace]]/docs",
      "filePrefix": "",
      "defaultLocale": "en" // This value needs to map to the locale defined in the i18n setting
    }
  ]
}Important: The path for the default locale is defined by the content folder path and the i18n locale path. For example, if the content folder path is
[[workspace]]/docsand the i18n locale path isen, the default locale path will be[[workspace]]/docs/en.
Define the locales
You can define the locales on two levels:
- Global level: When using the
frontMatter.content.i18nsetting, you define the locales for the entire workspace. This means that any content folder which is multilingual enabled, it will use the locales defined in the global setting. - Content folder level: When using the
localesproperty on thefrontMatter.content.pageFolderssetting, you can define the locales for a specific content folder.
Properties
| Property | Description | Required |
|---|---|---|
title | The title of the locale | No |
locale | The locale code | Yes |
path | The path to for the locale. This path value is used in combination with the content folder's path. | Yes |
Global level
To define the locales on the global level, you need to use the frontMatter.content.i18n
setting.
{
  "frontMatter.content.i18n": [
    {
      "title": "English",
      "locale": "en",
      "path": "en"
    },
    {
      "title": "German",
      "locale": "de",
      "path": "de"
    },
    {
      "title": "Dutch",
      "locale": "nl",
      "path": "nl"
    }
  ]
}
In combination with the above content folder configuration, the contents will be stored in the following paths:
- English:
[[workspace]]/docs/en - German:
[[workspace]]/docs/de - Dutch:
[[workspace]]/docs/nl
If you want, you can also create the default content in the root of the content folder.
You can use use the . value for the path property.
{
  "frontMatter.content.i18n": [
    {
      "title": "English",
      "locale": "en",
      "path": "."
    },
    {
      "title": "German",
      "locale": "de",
      "path": "de"
    },
    {
      "title": "Dutch",
      "locale": "nl",
      "path": "nl"
    }
  ]
}
In combination with the above content folder configuration, the contents will be stored in the following paths:
- English:
[[workspace]]/docs - German:
[[workspace]]/docs/de - Dutch:
[[workspace]]/docs/nl
Content folder level
You can also define the locales on the content folder level. This allows you to override the global locales for a specific content folder.
{
  "frontMatter.content.pageFolders": [
    {
      "title": "Multilingual",
      "path": "[[workspace]]/docs",
      "filePrefix": "",
      "defaultLocale": "en",
      "locales": [
        {
          "title": "English",
          "locale": "en",
          "path": "en"
        },
        {
          "title": "Nederlands",
          "locale": "nl",
          "path": "nl"
        }
      ]
    }
  ]
}
Create a translation
Once the multilingual settings are configured, you can create content in multiple languages with Front Matter CMS.
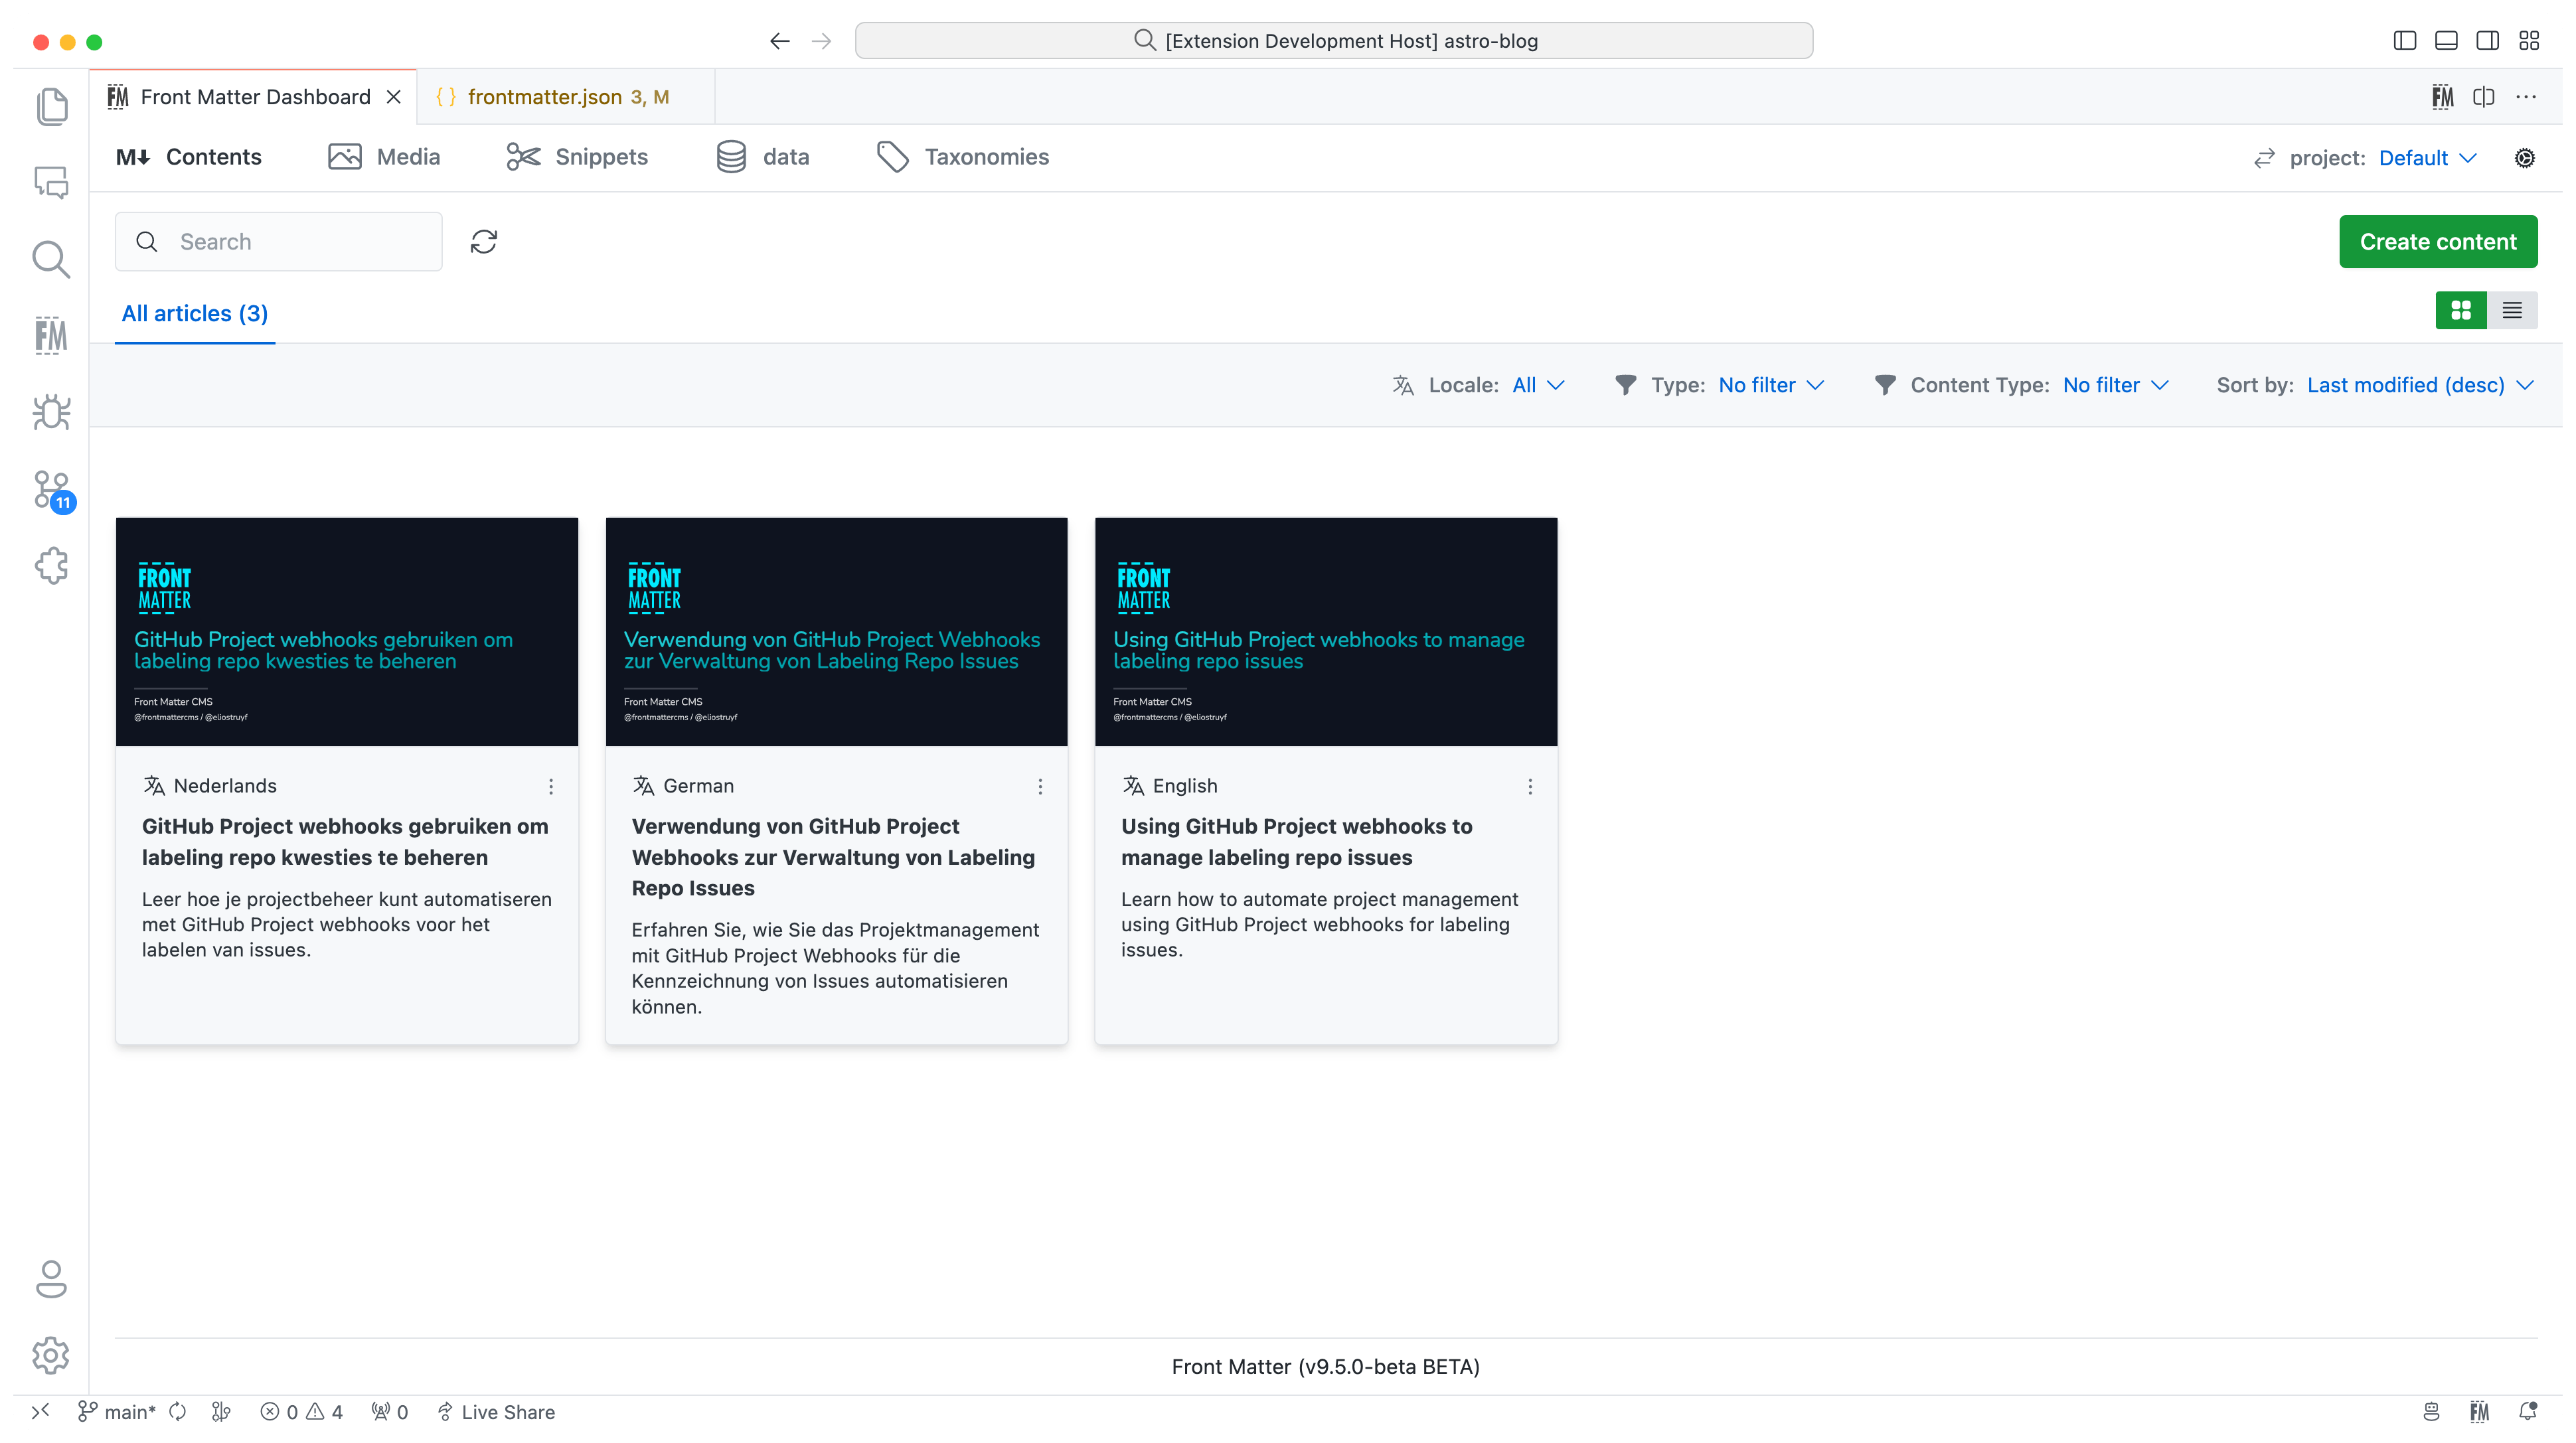
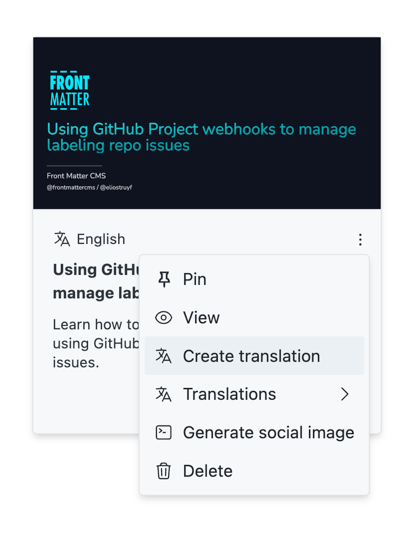
You can create content translations by starting from the locale content and then you can use any of the following methods to create a new translation:
- Use the
Front Matter: Create new translationcommand from the command palette - Use the
Create new translationbutton in the content editor toolbar
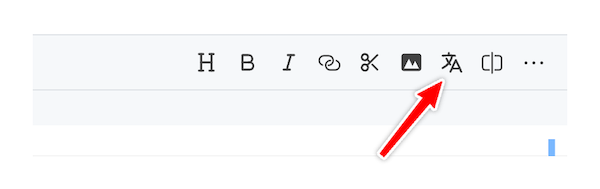
- On the content dashboard, you can use the
create translationaction from the content item menu
Automatic language translation
By default, the multilingual feature does not include automatic language translation of content. However, you can make use of DeepL or Azure AI Translator for automatic language translation.
To enable automatic language translation, you need to configure the authentication settings for the translation service.
Configure Azure AI Translator
Follow the next steps in order to configure the Azure AI Translator authentication key:
- Go to the Azure Portal
- Go to your
Azure AI Translatorresource - Click on the
Keys and Endpointmenu item - Copy the
Key 1orKey 2and theRegionvalues - Back in Visual Studio Code, open the Front Matter CMS dashboard
- Click on the gear icon in the top right corner to open the settings view
- Click on the
Integrationtab - Paste the
Key 1orKey 2in theSubscription keyfield - Paste the
Regionin theRegionfield
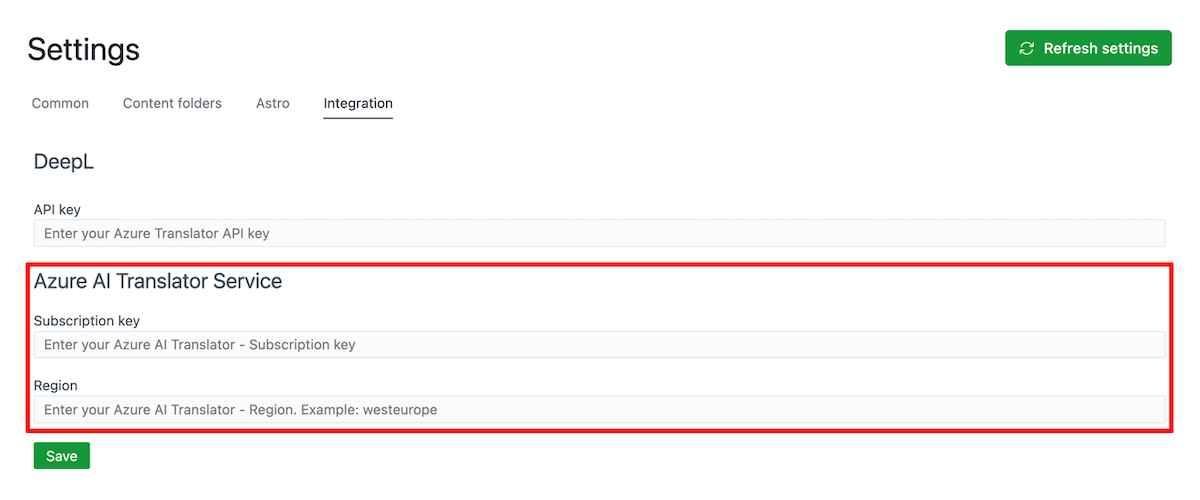
- Save the settings and start creating translations
Configure DeepL
Follow the next steps in order to configure the DeepL authentication key:
- Go to the DeepL Account Summary page
- Copy the
Authentication Key for DeepL API - Back in Visual Studio Code, open the Front Matter CMS dashboard
- Click on the gear icon in the top right corner to open the settings view
- Click on the
Integrationtab - Paste the
Authentication Key for DeepL APIin theAuthentication keyfield

- Save the settings and start creating translations
Start translating
Once you configured Deepl or Azure AI Translator, when you create a new translation, the CMS will automatically submit the article title, description, and content to the translation service.
Important: If anything goes wrong with the translation. The CMS will show an error message and create a copy of the original content in the target locale folder.
Feedback/comments
Did you spot an issue in our documentation, or want to contribute? Edit this page on Github!